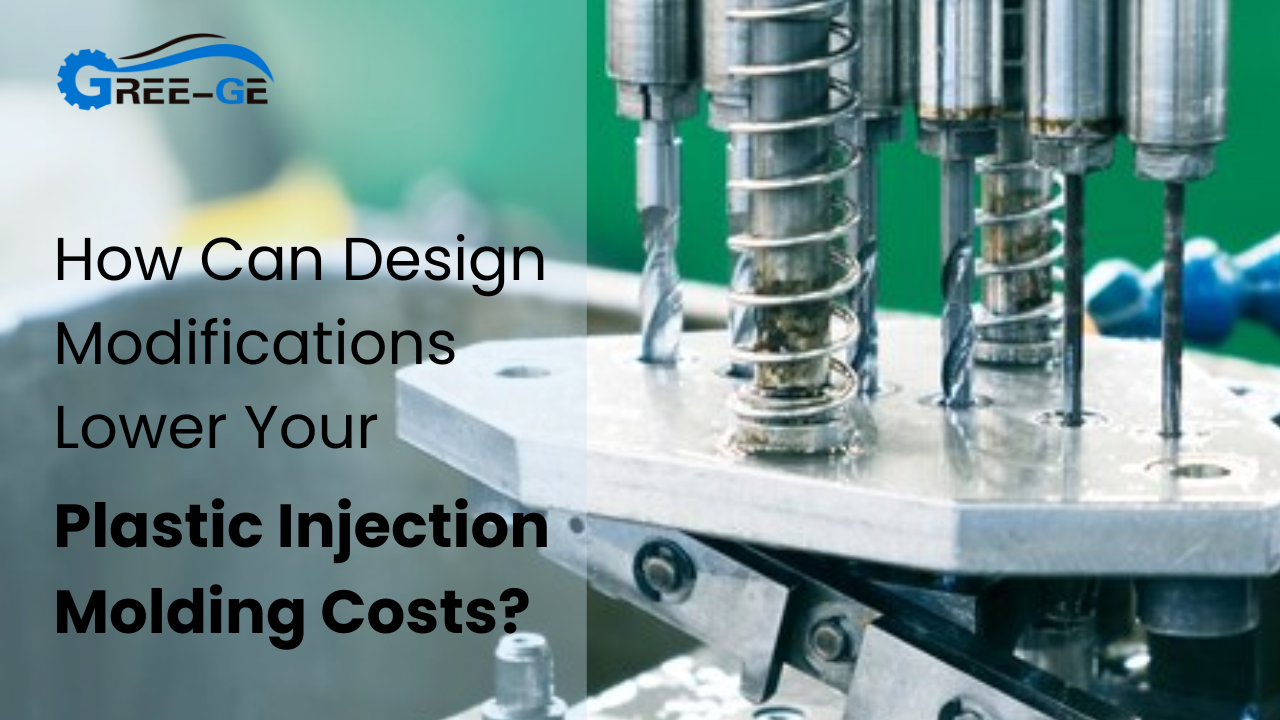
 Skip to content
If you’re building a plastic product and want to keep expenses down, you’ve probably asked yourself this question: How can design tweaks help slash my plastic injection molding costs? Sometimes, even the smallest design change can make a big difference in your production budget. In this article, we’ll walk through the design modifications that can save you time and money. We’ll cover simple tips—like maintaining uniform wall thickness—that prevent headaches, reduce scrap, and keep your production line humming.
Plastic Injection Molding Costs: Quick Overview
When you optimize a design for plastic injection molding you cut out unnecessary features, balance wall thickness, and reduce undercuts. This leads to fewer tooling complications, lower material use, and improved cycle times. Every small adjustment contributes to a significant reduction in plastic injection molding costs in the long run without sacrificing the quality or functionality of your part.
Eliminating Undercuts
Undercuts can force the use of slides or lifters in the mold, driving up costs. By rethinking certain features—like side holes or hooks—you can avoid complex tooling altogether. Fewer moving parts mean less wear, simpler molds, and reduced lead times.
Reducing Complexity
Excessive curves, intricate decorations, or tight corners can spell trouble. Simplify the design by removing any non-essential elements. Not only does this lower production molding costs, but it also makes mold fabrication faster, improving your time to market.
Keeping Walls Uniform
Consistent wall thickness promotes even cooling and material flow. That means fewer defects—like sink marks or warping—and shorter molding cycles. By minimizing sudden thickness changes, you cut down on waste and help your parts pop out of the mold smoothly.
Simplifying Part Geometry
If your part looks like it belongs in a modern art gallery, that might be great for aesthetics—but not for cost control. Complex geometries often demand specialized tooling, which pushes up plastic injection molding costs. Simplifying the shape doesn’t mean losing functionality; it just means removing unnecessary bells and whistles.
Eliminating Undercuts
Undercuts are features that prevent the part from being ejected straight out of the mold. Molds with undercuts typically need side actions, lifters, or collapsible cores, all of which add complexity and cost. If you can redesign to remove undercuts—maybe by reorienting a hole or adding a small opening—you reduce mold price and cut down on cycle time.
Quick Tip: When you can’t avoid an undercut completely, consider using a small radius or a tapered angle. These tiny tweaks can sometimes allow the part to eject without fancy mechanisms.
Reducing Complexity
Intricate logos, overly ambitious design elements, and multiple small features might look cool on a computer screen. However, once you factor in mold fabrication, each extra detail will have a price tag. Remember that intricate geometry can also slow your cycle time because molten plastic must fill every nook and cranny.
Optimizing Material Usage
Material can be one of the biggest drivers of plastic injection molding costs—especially if you’re producing parts at scale. The more resin you use, the higher your expenses. Smart design allows you to get the same structural integrity with less plastic.
Reducing Wall Thickness
- Thinner walls lower material needs and shorten cooling times.
- Be sure to stay within the strength requirements for your part’s function.
Using Ribs And Gussets
- Ribs and gussets add strength without piling on extra plastic.
- They help manage stress distribution, keeping the part from snapping under pressure.
Coring Out Thick Sections
- If your part has a chunky area, you can create a hollow region (a “core”).
- This method prevents sink marks and slashes material usage.
Fact: Many manufacturers keep a standard “wall thickness guideline” for different plastics. For example, a typical range might be 1.5–3 mm for many injection-molded parts. Thinner sections must use materials specifically designed for ultra-thin molding.
Streamlining Cost of plastic injection molding Design
Next up, let’s talk mold design. The mold is the heart of your operation—poorly designed tooling can skyrocket plastic injection molding costs due to waste, long cycle times, and part defects. Thoughtful mold features like proper draft angles and well-placed parting lines make a huge difference.
Draft Angles
Draft angles help parts slide out of the mold cleanly. When you add an appropriate draft (often 1–3 degrees) to vertical walls, you reduce friction and avoid scraping. As a bonus, ejection is faster and less prone to damage.
| Mold Feature | Why It Matters | Cost Impact |
|---|---|---|
| Draft Angles | Eases part ejection | Fewer rejects, shorter cycle times |
| Parting Lines | Simplifies tooling and reduces flash | Lower mold complexity, less trimming |
| Mold Flow Analysis | Detects problems like weld lines or air traps early | Saves rework costs and time |
Parting Lines
A poorly placed parting line can lead to an unsightly flash that requires post-processing. If you can position the parting line in a less critical area—or design the part so the line follows a natural edge—your mold will be simpler, and your finishing costs will drop.
Mold Flow Analysis
Software simulations (such as Autodesk Moldflow or similar tools) can predict material flow, shrinkage, and warpage long before you cut steel for the prototype molding. Investing in this early analysis often yields massive savings down the road because you can fix design flaws virtually instead of on the factory floor.
Reducing Cycle Time
Cycle time is the total duration for each shot—filling, cooling, and ejecting the part. Longer cycles mean fewer parts per hour, higher labor costs, and more energy consumption. By tweaking your design to allow faster cooling and smoother ejection, you can knock down plastic injection molding costs even further.
Optimizing Cooling
Thick sections take forever to cool, so the press has to remain closed longer. That drags out your cycle time. Uniform wall thickness, strategically placed cooling channels, and using materials with good thermal conductivity all help parts cool rapidly.
Suggestion: If your mold is designed for quick cooling, consider using water lines or specialized conformal cooling channels. These advanced solutions match complex part shapes, speeding up heat removal significantly.
Ejection Optimization
A stuck part can cause production delays—or worse, micro molding part damage. Features like ejector pins or stripper plates should be carefully located to push parts out with minimal force. Combine that with the right draft angles, and you’ll find your cycle times dropping as the parts pop out effortlessly.
Design For Manufacturability (DFM)
Have you ever tried to fix a major problem at the very end of a project? It’s stressful and expensive. The same logic applies to injection molding. The sooner you talk to mold designers or manufacturing experts, the better. That’s what Design for Manufacturability (DFM) is all about: anticipating and solving problems before they become pricey.
Early Collaboration
Don’t wait until your part design is “done” to show it to a molding expert. By involving them early, you can avoid design pitfalls—like impossible undercuts or extremely tight tolerances that are tough to hold. This approach also yields more accurate quotes, ensuring no nasty surprises down the road.
Warnings: Last-minute design overhauls can blow your budget. Even small changes might require major mold rework if you catch them after the tooling is built.
Material Selection
Picking the wrong plastic can inflate your plastic injection molding costs. Some materials run hot, require special gating, or have extended cooling times. Conversely, cheaper plastics may not meet your durability needs. Weigh the cost of the raw material against the total production expense—sometimes, a slightly pricier resin can run faster, offsetting its higher purchase price.
Putting It All Together To Cut Costs
When you combine all these techniques—simplifying geometry, optimizing material use, refining mold design, trimming cycle time, and planning for manufacturability from the start—you create a powerful strategy for minimizing Cost of plastic injection molding. Each small improvement adds up, allowing you to produce high-quality parts while keeping expenses in check.
Think Holistically
Cost-cutting doesn’t only come from one place. Maybe you shave a bit of time off the cycle. Maybe you reduce material by 10%. Perhaps you rework a tricky undercut. In many cases, the synergy between these tactics leads to the largest savings overall.
Keep revisiting your design with an eye for simplification. As advances technology —like new mold flow software or improved resins—fresh opportunities will arise to cut plastic injection molding costs further.
Continuous Improvement
Once your part is in production, collect data. Track reject rates, cycle times, and any mold maintenance issues. Share these insights with your team. That way, you can refine your design or processes in real time, ensuring you never miss a chance to trim expenses or enhance quality.
Conclusion
Design modifications are your best friend when it comes to lowering plastic injection molding costs. By avoiding undercuts, thinning walls where possible, and collaborating early with mold makers, you can streamline your entire manufacturing process. Optimized designs lead to fewer defects, faster cycles, and happier customers.
Ultimately, investing the time upfront to refine your part’s geometry, mold layout, and material choices reap big rewards. When you reduce headaches in production, you also cut costs that eat into your margins. It’s a win-win for you and your clients, proving that smart design choices do more than just shape your product—they help your bottom line thrive.
FAQ
Why do undercuts increase plastic injection molding costs so much?
Undercuts need special mold components like slides or lifters, which add complexity. Complex molds take longer to build and maintain, and they also have a higher risk of mechanical failure.
Can I reduce wall thickness without compromising strength?
Often, yes. Using ribs, gussets, or advanced materials can preserve structural integrity even with thinner walls. It’s all about balancing part requirements with efficient material usage.
How early should I involve a mold designer?
Ideally, as soon as you have a rough part design. Early feedback helps you avoid design pitfalls that are costly to fix later, saving time and money.


